Bunker Week - Part 8- Building a Travis Bunker
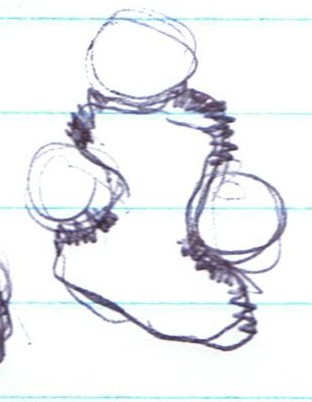
The plan and layout for the bunker
I thought it would be fun to watch a bunker get built one stage at a time.
1 hour in.
Before building a bunker the sod is stripped. This is done so the bunker is built only with soil. The reason is that the sod will break down and the mounds will settle uneven if you don’t do this. Before construction the Travis mounds are laid out on the ground and all fill required comes from the interior.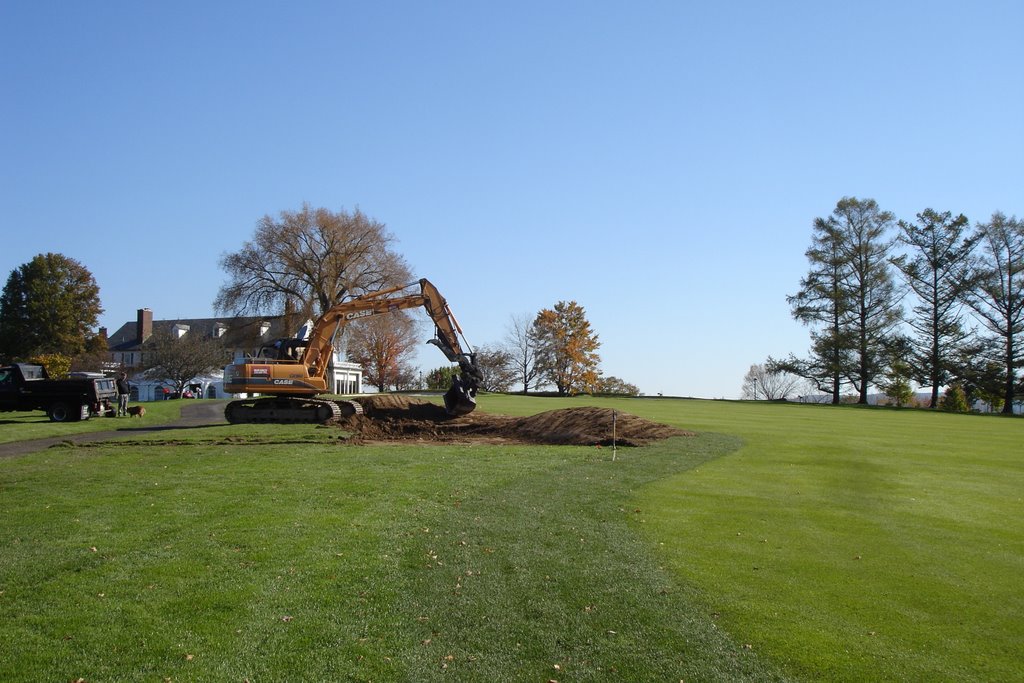
2 hours in
The excavator takes the place of horse and pans to stack up the fill about four feet high in each mound location. Each mound has its own unique “mountain range” like shape. The key is a top heavy mound that looks like dripping ice cream to get the Travis effect. The fill is placed in lifts and pounded with the bucket for compaction. A bulldozer will not get the right forms.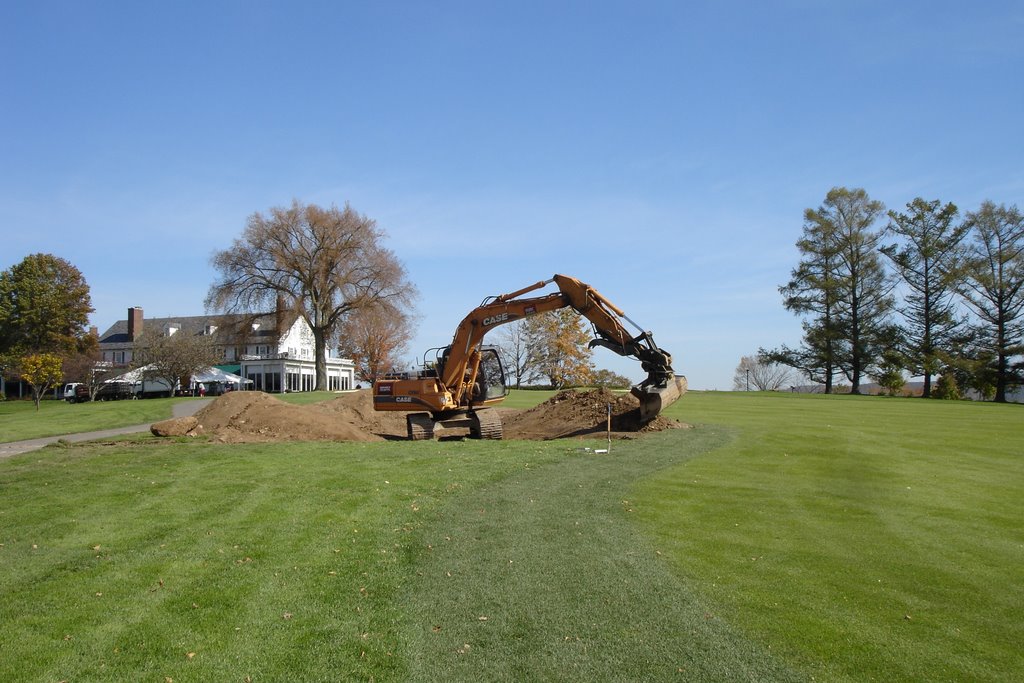
3 hours in
Once the three mounds are in place and packed. The next stage is to build the low transitions between the mounds to tie all the forms together. Once done, the cavity or bunker interior will be formed to create a smooth bowl shaped interior. A real Travis bunker was flatter, but this bowl shape is done for quicker drainage and to help keep the ball to the interior.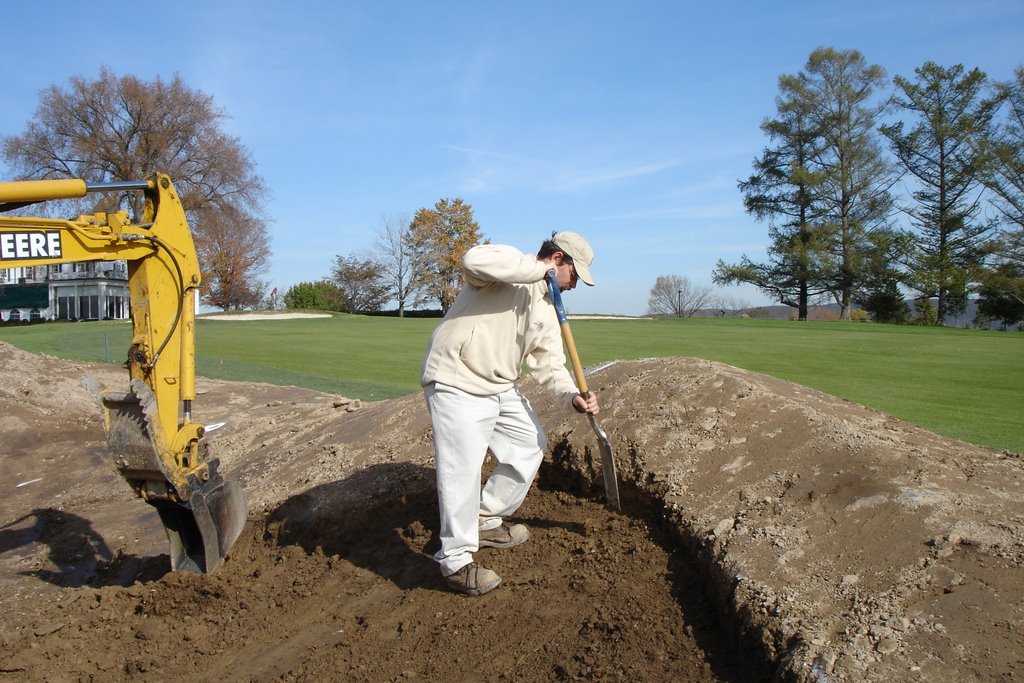
5 hours in
The bunker lines are cut into the interior by hand (by me) to create a 6”- 12” lip that will create the bull nose edge which is desired for the shadows it creates and the old fashioned look it provides. One additional note is that most Travis bunkers were grassed to the bottom, but like most clubs, this club needed to be able to see the sand from the tee. This project would not have proceeded without this concession on my part.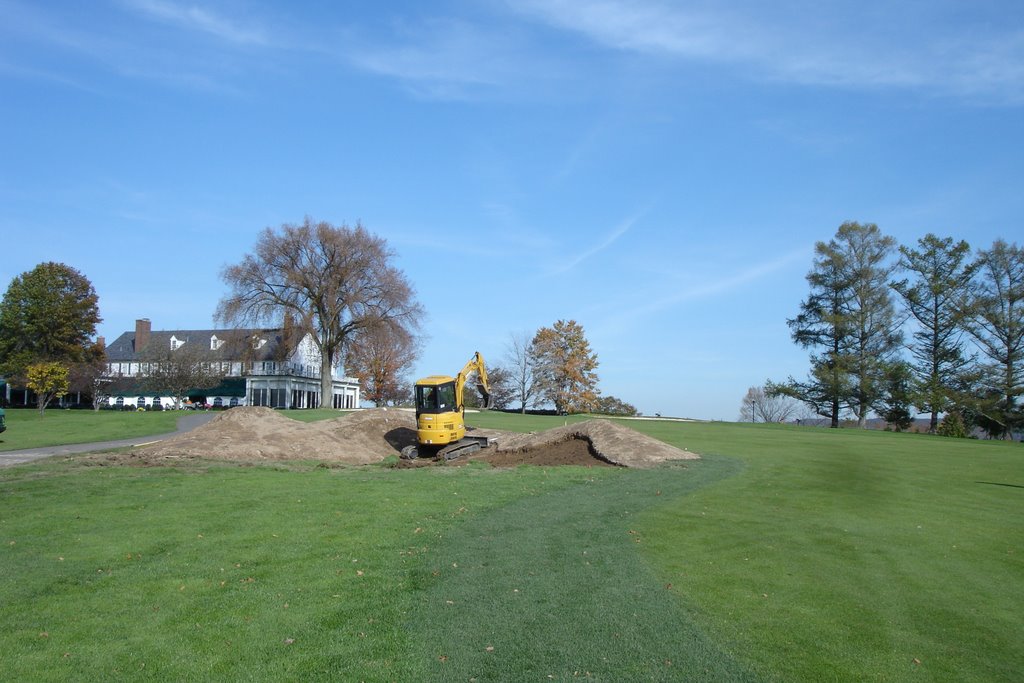
6 hours in
The final picture shows the mini-excavator cleaning out the interior ready for packing and tamping to get a perfectly smooth finish. If you don’t get a smooth bottom the raking will begin to destroy the interior and contaminate the sand right from the beginning. If the interior is bad enough, the bunker will hold ater too. The drain line will be excavated out from the bottom and the drain will be backfilled with the bunker sand. This can be choker sand or pea stone depending on the situation too. The white plastic was added to show the top of the sand faces and was used to check the bunker lines from the tee which is about 20 feet lower than the bunker.
8 hours from start
The bunker exterior is then raked and sod with a fescue/bluegrass blend so that the mounds can be grown long in the future when all the bunkers are done. The sod is not trimmed and allowed to extend into the bunker where it will be left till it knits in. Finally the sod is trimmed back to the bottom of the bullnose and the interior is prepared and tamped back to the new drain line and bunker sand is placed in the bottom and packed ready for play. (There are no pictures because of the rain that came when this was to begin)
From the tee (click onto the photo to enlarge)
That is the basics to building a Travis bunker - or at least one style of his bunkering.
Architects note:This was a test bunker for the club. To be accurate the sand should not be flashed up - but the club was insistant that the sand faces be raised on this bunker for visibility - the club is now realizing the location of the bunker is clear from the mounding and is reviewing whether the sand should go to the bottom as intended when the full bunker program is begun next year.

3 comments:
cool! great timeline on creating a bunker. and a very informative series on bunkers. thanx, ian.
cheers,
peter
olympia, wa.
This bull nose thing has become rather popular! JG
John,
Now you know what you started.
It certainly changed my mind on how to build excellent bunkers.
Ian
Post a Comment